Building and Deploy an Image for Windows 10 on Windows Imaging and Configuration Designer
BjTechNews
Advertisements
What’s the purpose of Windows ICD? Well, Windows Imaging and Configuration Designer (ICD) is a tool to streamline the customization and provisioning of a Windows image.
You can use Windows ICD to do the following tasks:
View all of the configurable settings and policies for a Windows 10 image or provisioning package.
Create Windows provisioning answer files.
Add third-party drivers, apps, or other assets to an answer file.
Create variants and specify the settings that apply to each variant.
Build and flash a Windows image.
Build a provisioning package.
Windows ICD is primarily designed for use by:
OEMs, ODMs, and Makers looking for a simple and streamlined process of creating and deploying a Windows image.
System integrators who provision devices based on their customers’ needs.
IT departments for business and educational institutions who need to provision bring-your-own-device (BYOD) and business-supplied devices.
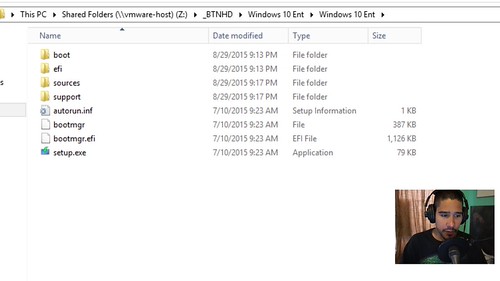
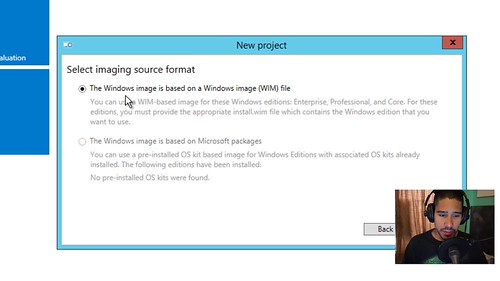
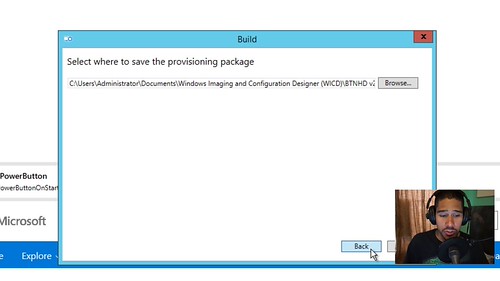
Step 1: Create a folder so all of your ICD images/packages can be stored into. I created one in the C drive for now, but I would recommend dropping it into another partition. Step 2: Inside the ICD folder I created subfolders for each of my custom ICD packages. You don’t have to do this, but I want to keep myself organize. Step 3: Get a copy of the Windows Operating System you will be customizing. I was able to download the ISO file of Windows 10 from the Microsoft site. Step 4: If you get an ISO file make sure to extract all the content inside the ISO file to a folder. You will be needing this soon. Step 5: Locate and open up the Windows ICD Designer. Step 6: Click on the “New Windows Image Customization” Step 7: Give your Project a name and change the location of the project folder. Step 8: Their will be only one option enabled and that’s “The Windows image is based on a Windows image (WMI) file”. Click on Next to continue. Step 9: Click on Browse and locate the folder where the Windows Operating System files are in. Step 10: Go inside the folder and click on “sources” Step 11: Locate and select the “install.wim” file and open it. Step 12: You will then have to pick which WIM image you will want to customize within Windows ICD Designer. Step 13: If you have a provision package already you can import it now. Click on next to continue. Step 14: Windows ICD Designer is loading the Windows OS WIM image. (Grab a cup of tea :)) Step 15: Once the WIM image is loaded you get many option to start customizing your package. Step 16: Click on the “All Settings” drop down menu. Step 17: You have only two main options to start with. Windows ICD designer will give you “Common OEM settings” & “Common IT Pro Settings“. Lets pick “Common IT Pro Settings” Step 18: Within the “Common IT Pro Settings” you have many options. Take some time and go over some of the options to fit your environment. Step 19: Then pick “Common OEM Settings” > OEM Settings only has two root options to configure. Step 20: Expand each node and look around and see what you will need to configure for your environment. Step 21: Once your customization is done you will then have to Build the project, so you can implement it. Click on Next to continue. Step 22: From here you are able to encrypt the package, but make sure you write the encryption password if you picked this option. Click on Next to continue. Step 23: Browse for a new location or leave the default. After that click on Next to continue. Step 24: Time to wait for the provisioning package to build. (Grab a cup of tea) Step 25: When the package is completed make sure to write down the path of where the provisioning packages are stored. Step 26: Time to create your media. Windows ICD designer gives you three options. Click on “Create” and pick your poison. For this article and video we will be doing the “Production Media” option. Step 27: Production Media will give you two options. I will be doing a WIM image file. Step 28: I would recommend enabling the compact OS option. It will try to make the media smaller, making it easy to store or create a bootable USB drive for mobile deployment. Step 29: Configuring the “Audit Mode Boot” is optional, so I left it alone for now. Step 30: You are able to create the bootable USB drive on the spot, but I haven’t tested this out yet, so I will save my media content to a folder. Step 31: Pick a location where you want the media files to save into. Step 32: I’m dropping it inside the ICD image folder I created earlier. Click on Next to continue. Step 33: Click on “Build” (Grab a cup of tea) Step 34: That’s it! All done. Make sure to write down the output and project folder locations.