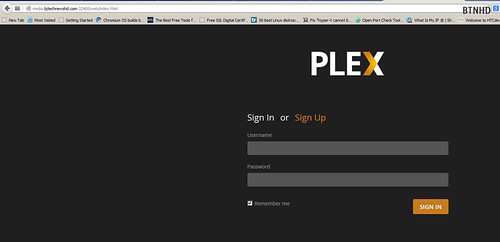
I was tasked at the job to create a low budget media server. I looked around and found that Plex.tv was the way to go. One it was free and easy to manage and configure. The Plex Media Server allows you to organize all your personal media, presenting it on a cool looking interface and streaming it to all of your devices; if configured correctly. I will go over how to install the application to a Windows 10 machine and also show you how to configure it for outside usage.

Installation & Configuration
Step 1: Download the Plex.tv installation from Plex.tv. I placed the installation file on the desktop.


Step 2: Double-click on the file.

Step 3: If you click on the “Option” button you will be able to change the default location of the installation files.

Step 4: If you changed the location and click “Ok” you will be prompted to install Plex.TV. Click on the “Install” button to start the installation.

Step 5: Click on “Yes” for the UAC (User Account Control).

Step 6: Be patience the installation doesn’t take to long.

Step 7: Once completed you will get the following dialog box. Click on “Launch”.
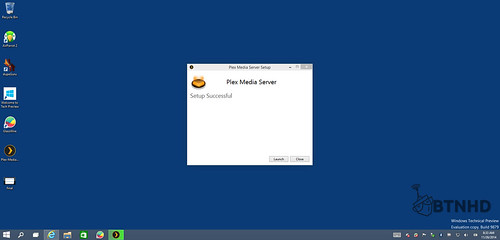
Step 8: Accept the terms of service from Plex.tv

Step 9: Give it some time for Plex.tv to setup and launch the wizard, so you can continue the configuraton.

Step 10: Provide a name for your Plex.tv media server

Step 11: Add a library to your media server. This library can be a folder with all your videos.

Step 12: Pick which type the library will be. I picked “Home Videos”.

Step 13: Click on “Next”

Step 14: Locate your folder by clicking on “Add Folder”

Step 15: Click on “Next” to confirm your new library.

Step 16: Install any of the available channel that Plex.tv broadcast for free.

Step 17: I picked “Apple Movie Trailers”. If you pick a channel it will asked you to “Install” it.

Step 18: Once your channel is installed. You can click on “Next”.

Step 19: And your done. Congrats!

Configuring Plex.TV for Outside Usage
The best part of having a media server especially at home is that you can access it anyway and anytime if you have wireless connection on a device. To make this happen, you will need to have a good strong router at home that does port forwarding, know your public IP address, and own a domain name.
Step 1: Okay, by default your Plex.tv media server address is the IP address of the machine you have installed it into, which will be http://192.168.0.1:32400/web/index.html [remember: 192.168.1.0 should be YOUR machines IP address]


Step 2: Next, on your home router/wireless router enable port forwarding and add the Plex.tv machines’ IP address and change the ports to 32400, which is Plex.tv default port. By the way, you can change it if you want within your Plex.TV server.


Step 3: What’s your IP? Now, everyone has a public IP address. This one address is what gives you access to the internet world and your ISP manages it for you.


Step 4: Test your Public IP address with the Plex.TV address. Now, that you have your router configured to do port forwarding it should point to the media server with no problem. For example: http://456.23.12.789:32400/web.index.html [remember 456.23.12.789 is your public IP address]


Step 5: Okay, if you don’t want to remember all those numbers and you want to enter a domain name to enter your media server. You will need to purchase a domain and within your domain provider that you choose you are able to create an A Host record. The image below I created an A Host record called media that point to my public IP address.


Step 6: Once the A Host record is created you should be able to access your media server by entering the domain name without the IP address. For example: http://media.bjtechnewshd.com:324000/web/index.html